Most contractors install it at the eaves and call it done. Here is why that is not enough for a Pacific Northwest home and what proper installation actually looks like.
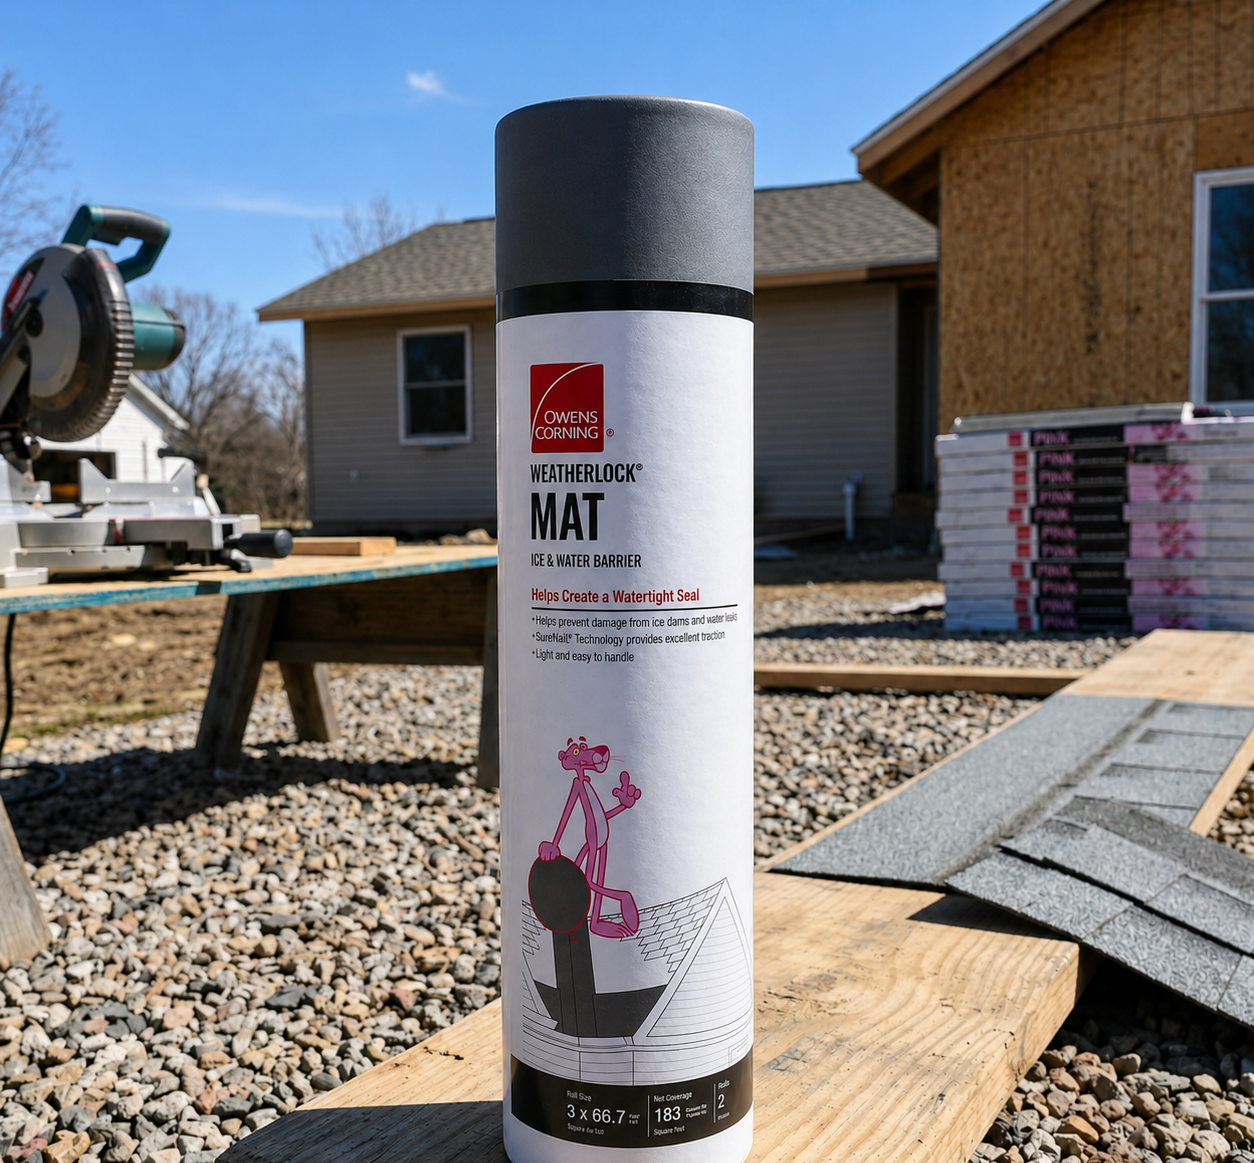
Ice and water shield is a self-adhering waterproof membrane that goes under the shingles on your roof. It is not the same as felt or synthetic underlayment. It is a fully waterproof barrier that bonds to the roof deck and to itself around fasteners, creating a seal that other underlayments cannot match. When a nail is driven through ice and water shield, the rubberized material compresses around the fastener shank and seals the hole. Other underlayments do not do this. That self sealing behavior is the core of what makes it fundamentally different from the underlayment that covers the rest of the deck.
The product itself is typically a rubberized asphalt compound laminated to a polyethylene film or granulated surfacing. The bottom face has a release liner that is pulled away during installation, exposing an aggressive adhesive that bonds directly to the roof decking. Once applied, it forms a continuous sheet that is waterproof from that moment forward. Even before shingles go on, the deck areas covered by ice and water shield are fully protected. No amount of rain can penetrate a properly lapped and sealed ice and water shield installation.
Building code in most Washington State jurisdictions requires ice and water shield at the eaves, typically extending 24 inches past the interior wall line. The intent of this code requirement is to address ice dams. When heat escapes through a poorly insulated roof, snow melts at the warm upper roof and refreezes at the cold eave overhang. The backed up water forces its way under shingles, and ice and water shield at the eave prevents it from reaching the deck. This is a legitimate protection, but it addresses only one of the failure modes that a Pacific Northwest roof faces.
Ice dams are less common in western Washington than in colder inland climates because our temperatures are more moderate. The bigger risk in this region is wind driven rain. Pacific Northwest storms regularly push rain horizontally, and that driven sideways water finds its way into roof systems at locations that gravity fed rain never reaches. Valleys, rakes, and penetration flashings are all vulnerable when rain is being driven at an angle by sustained winds. Bare minimum ice and water shield at eaves only does not address any of these locations. It is adequate for the specific ice dam scenario it was designed to solve, and inadequate for the broader range of water intrusion risks this climate creates.
A properly installed Pacific Northwest reroof applies ice and water shield at all eaves extending past the interior wall, through every valley from top to bottom, around every roof penetration including pipe boots, skylights, and chimneys, and along all rakes. This coverage pattern addresses each of the higher risk water entry points that the climate and typical storm patterns create. The valleys alone are worth emphasizing: a valley collects water from two roof planes simultaneously, concentrating flow at a single channel. Without a waterproof membrane beneath the shingles in a valley, any debris dam, any shingle failure, or any compromised flashing creates a direct path from outside to inside.
The additional material cost of this coverage pattern is modest relative to the total project. Ice and water shield costs more per square foot than synthetic underlayment, but the areas being covered are relatively small compared to the total deck area. On a typical Bellevue home, extending ice and water shield to full valley and rake coverage might add $200 to $600 to the material cost. Relative to the leak prevention value, that is one of the most effective line items in any roofing proposal.
The most common leak callback pattern Vantek encounters when called to diagnose another contractor's work involves valleys without ice and water shield. The sequence is predictable. Debris accumulates in the valley during fall and winter. The debris dam causes water to back up rather than drain cleanly. That water sits in contact with shingle edges rather than flowing freely off the roof. At some point the shingles at the valley edge deteriorate enough to allow water infiltration, or a storm drives rain hard enough to push water under the shingle lap. Because there is no waterproof membrane beneath the shingles, the water reaches the deck and follows the path of least resistance into the building structure.
Valley leaks are particularly destructive because the volume of water involved is large relative to a single missing shingle or a failed pipe boot. A valley that is leaking actively can deliver substantial water into the attic or wall cavity before the interior evidence of the leak becomes visible. By the time a stain appears on a ceiling or wall, the damage in the structure above it is often already significant.
Before the new shingles go on, you can ask your contractor to photograph the underlayment installation. The ice and water shield is visually distinct from synthetic underlayment. It has a darker, slightly textured surface and sits flush against the deck without the slight lift that mechanically fastened underlayment can show. A reputable contractor will have no hesitation about providing photos or walking you through what was installed before shingles cover it. Ask to see the valleys, the eave edges, and the areas around any pipe penetrations. If your contractor cannot produce photos and cannot point to ice and water shield as a specific, costed line item in the proposal, ask directly whether it was included and where.
Request a free estimate from Vantek Roofing. Call (425) 777-5031 or visit vantekroofing.com. We serve Bellevue, Kirkland, Renton, and 24 cities across King and Snohomish County.